Category Archives: Uncategorized

Introduce Yourself (Example Post)

This is an example post, originally published as part of Blogging University. Enroll in one of our ten programs, and start your blog right.

You’re going to publish a post today. Don’t worry about how your blog looks. Don’t worry if you haven’t given it a name yet, or you’re feeling overwhelmed. Just click the “New Post” button, and tell us why you’re here.

Why do this?

  • Because it gives new readers context. What are you about? Why should they read your blog?
  • Because it will help you focus your own ideas about your blog and what you’d like to do with it.

The post can be short or long, a personal intro to your life or a bloggy mission statement, a manifesto for the future or a simple outline of your the types of things you hope to publish.

To help you get started, here are a few questions:

  • Why are you blogging publicly, rather than keeping a personal journal?
  • What topics do you think you’ll write about?
  • Who would you love to connect with via your blog?
  • If you blog successfully throughout the next year, what would you hope to have accomplished?

You’re not locked into any of this; one of the wonderful things about blogs is how they constantly evolve as we learn, grow, and interact with one another — but it’s good to know where and why you started, and articulating your goals may just give you a few other post ideas.

Can’t think how to get started? Just write the first thing that pops into your head. Anne Lamott, author of a book on writing we love, says that you need to give yourself permission to write a “crappy first draft”. Anne makes a great point — just start writing, and worry about editing it later.

When you’re ready to publish, give your post three to five tags that describe your blog’s focus — writing, photography, fiction, parenting, food, cars, movies, sports, whatever. These tags will help others who care about your topics find you in the Reader. Make sure one of the tags is “zerotohero,” so other new bloggers can find you, too.
Introduce Yourself (Example Post)

This is an example post, originally published as part of Blogging University. Enroll in one of our ten programs, and start your blog right.

You’re going to publish a post today. Don’t worry about how your blog looks. Don’t worry if you haven’t given it a name yet, or you’re feeling overwhelmed. Just click the “New Post” button, and tell us why you’re here.

Why do this?

  • Because it gives new readers context. What are you about? Why should they read your blog?
  • Because it will help you focus your own ideas about your blog and what you’d like to do with it.

The post can be short or long, a personal intro to your life or a bloggy mission statement, a manifesto for the future or a simple outline of your the types of things you hope to publish.

To help you get started, here are a few questions:

  • Why are you blogging publicly, rather than keeping a personal journal?
  • What topics do you think you’ll write about?
  • Who would you love to connect with via your blog?
  • If you blog successfully throughout the next year, what would you hope to have accomplished?

You’re not locked into any of this; one of the wonderful things about blogs is how they constantly evolve as we learn, grow, and interact with one another — but it’s good to know where and why you started, and articulating your goals may just give you a few other post ideas.

Can’t think how to get started? Just write the first thing that pops into your head. Anne Lamott, author of a book on writing we love, says that you need to give yourself permission to write a “crappy first draft”. Anne makes a great point — just start writing, and worry about editing it later.

When you’re ready to publish, give your post three to five tags that describe your blog’s focus — writing, photography, fiction, parenting, food, cars, movies, sports, whatever. These tags will help others who care about your topics find you in the Reader. Make sure one of the tags is “zerotohero,” so other new bloggers can find you, too.

Introduce Yourself (Example Post)

This is an example post, originally published as part of Blogging University. Enroll in one of our ten programs, and start your blog right.

You’re going to publish a post today. Don’t worry about how your blog looks. Don’t worry if you haven’t given it a name yet, or you’re feeling overwhelmed. Just click the “New Post” button, and tell us why you’re here.

Why do this?

  • Because it gives new readers context. What are you about? Why should they read your blog?
  • Because it will help you focus your own ideas about your blog and what you’d like to do with it.

The post can be short or long, a personal intro to your life or a bloggy mission statement, a manifesto for the future or a simple outline of your the types of things you hope to publish.

To help you get started, here are a few questions:

  • Why are you blogging publicly, rather than keeping a personal journal?
  • What topics do you think you’ll write about?
  • Who would you love to connect with via your blog?
  • If you blog successfully throughout the next year, what would you hope to have accomplished?

You’re not locked into any of this; one of the wonderful things about blogs is how they constantly evolve as we learn, grow, and interact with one another — but it’s good to know where and why you started, and articulating your goals may just give you a few other post ideas.

Can’t think how to get started? Just write the first thing that pops into your head. Anne Lamott, author of a book on writing we love, says that you need to give yourself permission to write a “crappy first draft”. Anne makes a great point — just start writing, and worry about editing it later.

When you’re ready to publish, give your post three to five tags that describe your blog’s focus — writing, photography, fiction, parenting, food, cars, movies, sports, whatever. These tags will help others who care about your topics find you in the Reader. Make sure one of the tags is “zerotohero,” so other new bloggers can find you, too.

Winter is here, alternative sleds to use from boxes

To be honest I am not the biggest fan of winter.  Indeed, I grew up in the midwest United States and because of this, I have been thrust into snowstorms and blizzards, and even ice storms.  It has indeed been a wild ride and beyond all, I have enjoyed using the experience to grow personally and emotionally.  There is nothing easy about the winter, but it does provide the possibility to have a whole lot of fun if you let it. Depending on what state you live in winter games may vary greatly.  On the west coast, winter games are filled with swimming in a warm ocean and playing volleyball on a beach.  But where I come from winter means lots and lots of snow.  The snow leads us to find ways to have fun when it is hard to go anywhere far or fast.  This means winter games tend to be done in the snow and close to home.  If you are lucky to live next to a hill then lots of fun times can be had very easily.  What has become a family passion is making sledding tools out of packaging supplies. So how do you take your regular household packaging supplies and make a winter wonderland tool?  Let’s start on that right now and how you can use the simple things in life to have an amazing time. 

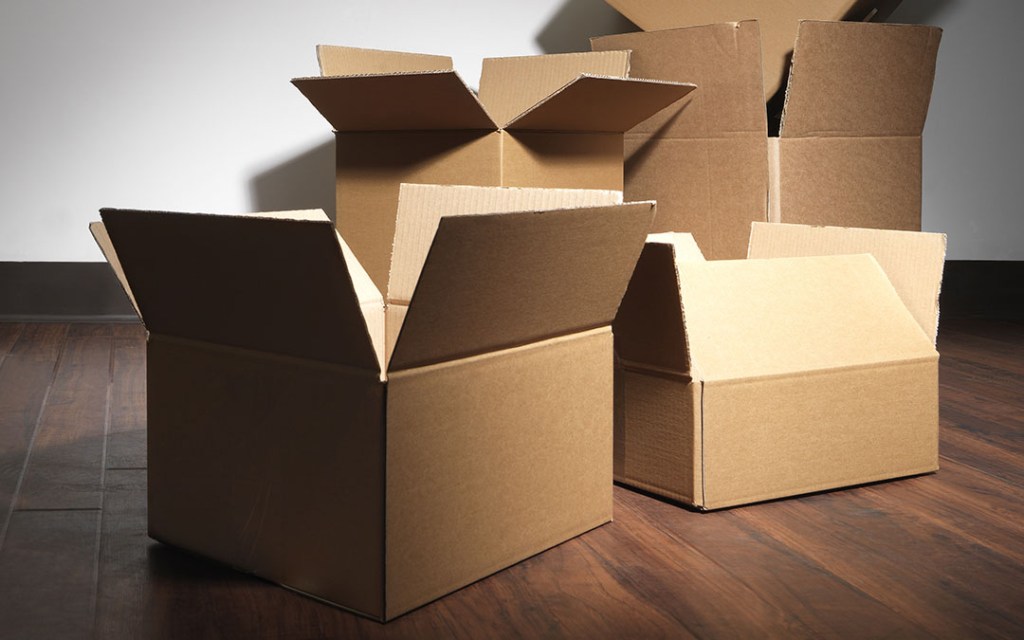
Ok, let’s be honest, what you will really need is definitely a bunch of different kinds of cardboard.  If you are able to also get a specific type of cardboard then it will make things much easier.  What I am talking about is pizza boxes.  Pizza boxes are actually patented for being able to be moister resistant.  They are corrugated and have air pockets and are also pretty darn tough as well.  So if you can order a lot of pizza and save the boxes this is a great base for a winter sled.  You can take 4 or 5 boxes and even double stack them once you take the box apart.  I like to also use duct tape to put the boxes together. This helps with the water proofing.  

Now you may not be a big history buff, but believe it or not duct tape was actually created in World War 2 to keep ammo cans from getting water in them. So it is a great tape to use for putting boxes together and to help to waterproof them and seams.  Once you have the base put together it’s nice to build some sides to hold onto.  This can be done with regular cardboard, but you will want to put lots of them together to get something to grip onto.  You will also want it to be able to withstand being kicked or run into with boots.  It really is just part of walking up hills and sledding down them.  Lots of people end up kicking many things. 

With a little bit of work and a lot of guts, you are probably about ready to go.  So once you get it all taped together our family goes out on the hills.  It sure is fun to see how tough and how fast you can get your sled.  A pro tip is to ducktape the bottom of the sled for slick sledding because friction is a win.  Have fun and happy winter to you and your family.